How to Build a Database of Property Sale Prices on Amazon Web Services
This post describes how a database of the sale prices of property sold in England and Wales can be built using Amazon Web Services. The data is open data and freely available from the Land Registry site. This post is the first in a series of posts which will describe the process of building the database and eventually running queries on the data to generate some report tables.
You should be able to work through this tutorial using the free tier resources of Amazon Web Services.
This first post describes the following steps:
- Sign up for Amazon Web Services (AWS)
- Install AWS Command Line Interface (CLI)
- Create a new IAM admin group and user
- Configure the AWS CLI
- Edit default security group to allow SSH access
- Generate an SSH key pair and import it into your AWS account
Sign up for Amazon Web Services (AWS)
If you haven't got one already you will need to register for a new account with Amazon Web Services.
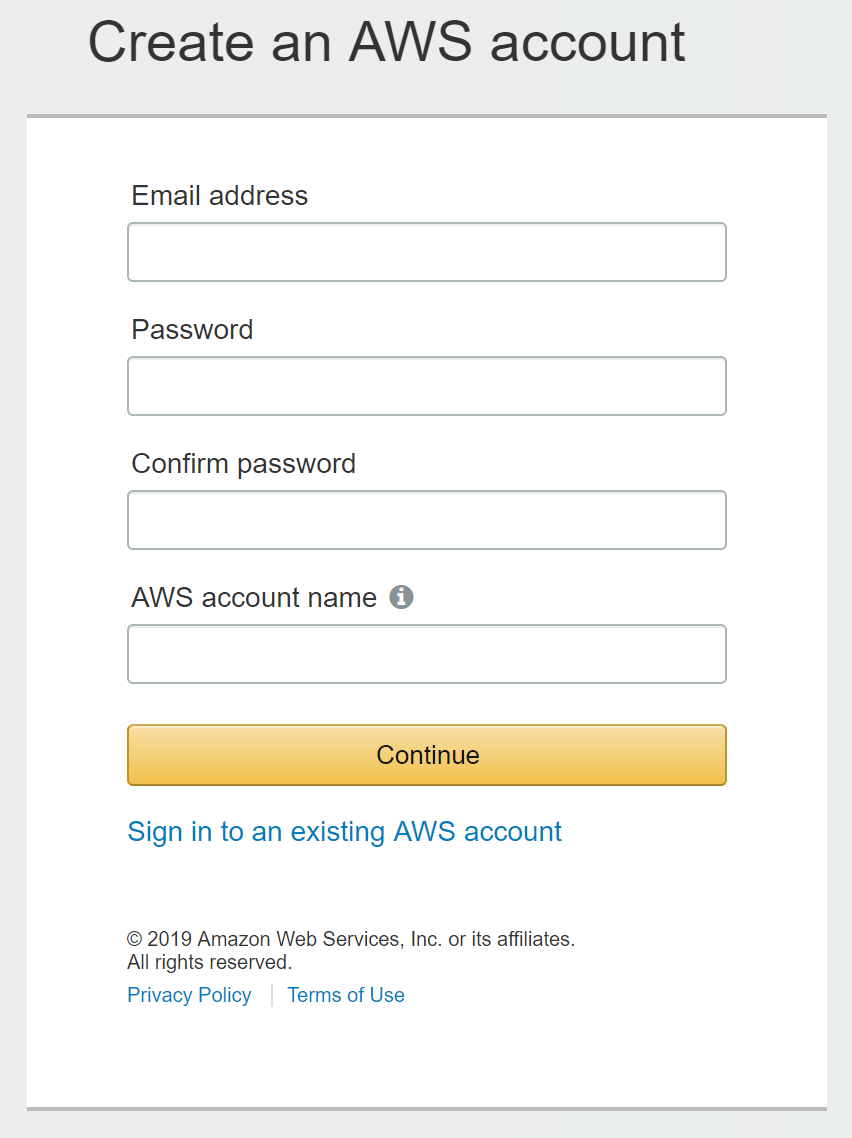
Once you have registered AWS provides a number of services you can access for free as described here. AWS will ask you for some credit/debit card details which you will need to provide to register successfully, however don't worry since you should be able to follow this tutorial using only the free tier resources.
Install AWS Command Line Interface (CLI)
Rather than use the AWS GUI available when you log in we'll use the AWS Command Line Interface (CLI) tool which enables you to fully manage your AWS cloud resources via terminal commands. I think using the CLI tool makes the tutorial easier to follow and more concise than adding in images in between the text. You will need to download and install the AWS CLI tool from here:
After you have installed the tool you can test the installation in a command prompt by running aws --version:
C:\Users\dan_h>aws --version
aws-cli/1.16.184 Python/3.6.0 Windows/10 botocore/1.12.174
Create a new IAM admin group and user
Now we will create a new IAM user to avoid using AWS services as the root user, before we do this we need to create an Administrators group.
The following instructions are based on those on the AWS site for Creating an Administrator IAM User and Group (Console).
-
Log into the AWS console at https://console.aws.amazon.com/iam/.
-
Enable access to billing data for the IAM admin user that you will create:
- On the navigation bar, choose your account name, and then choose My Account.
- Next to IAM User and Role Access to Billing Information, choose Edit.
- Select the check box to Activate IAM Access and choose Update.
- On the navigation bar, choose Services and then IAM to return to the IAM dashboard.
-
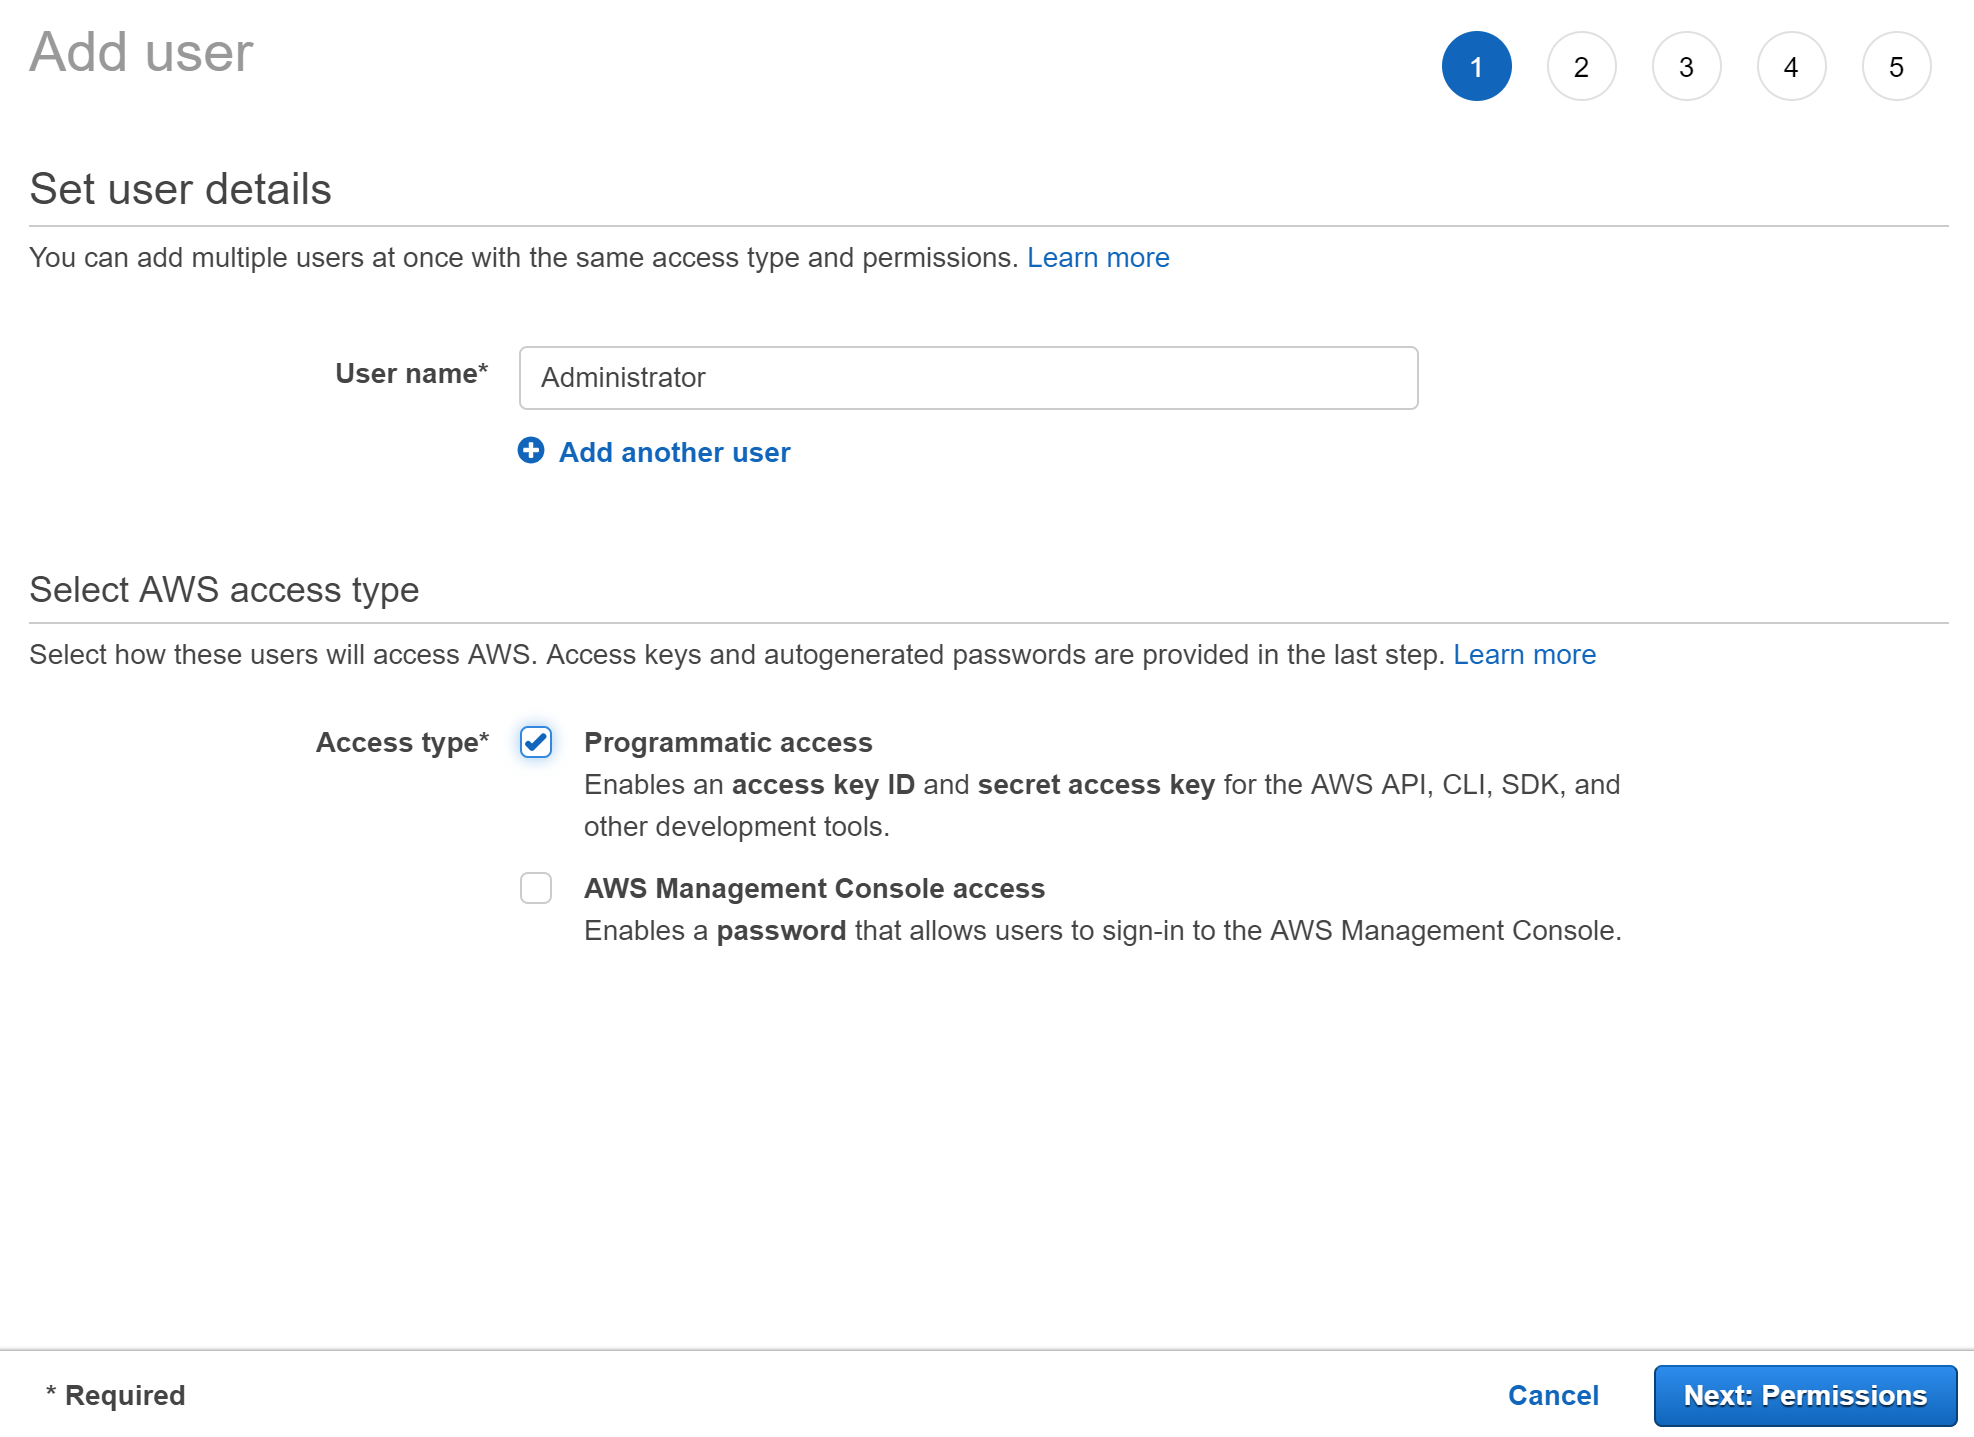
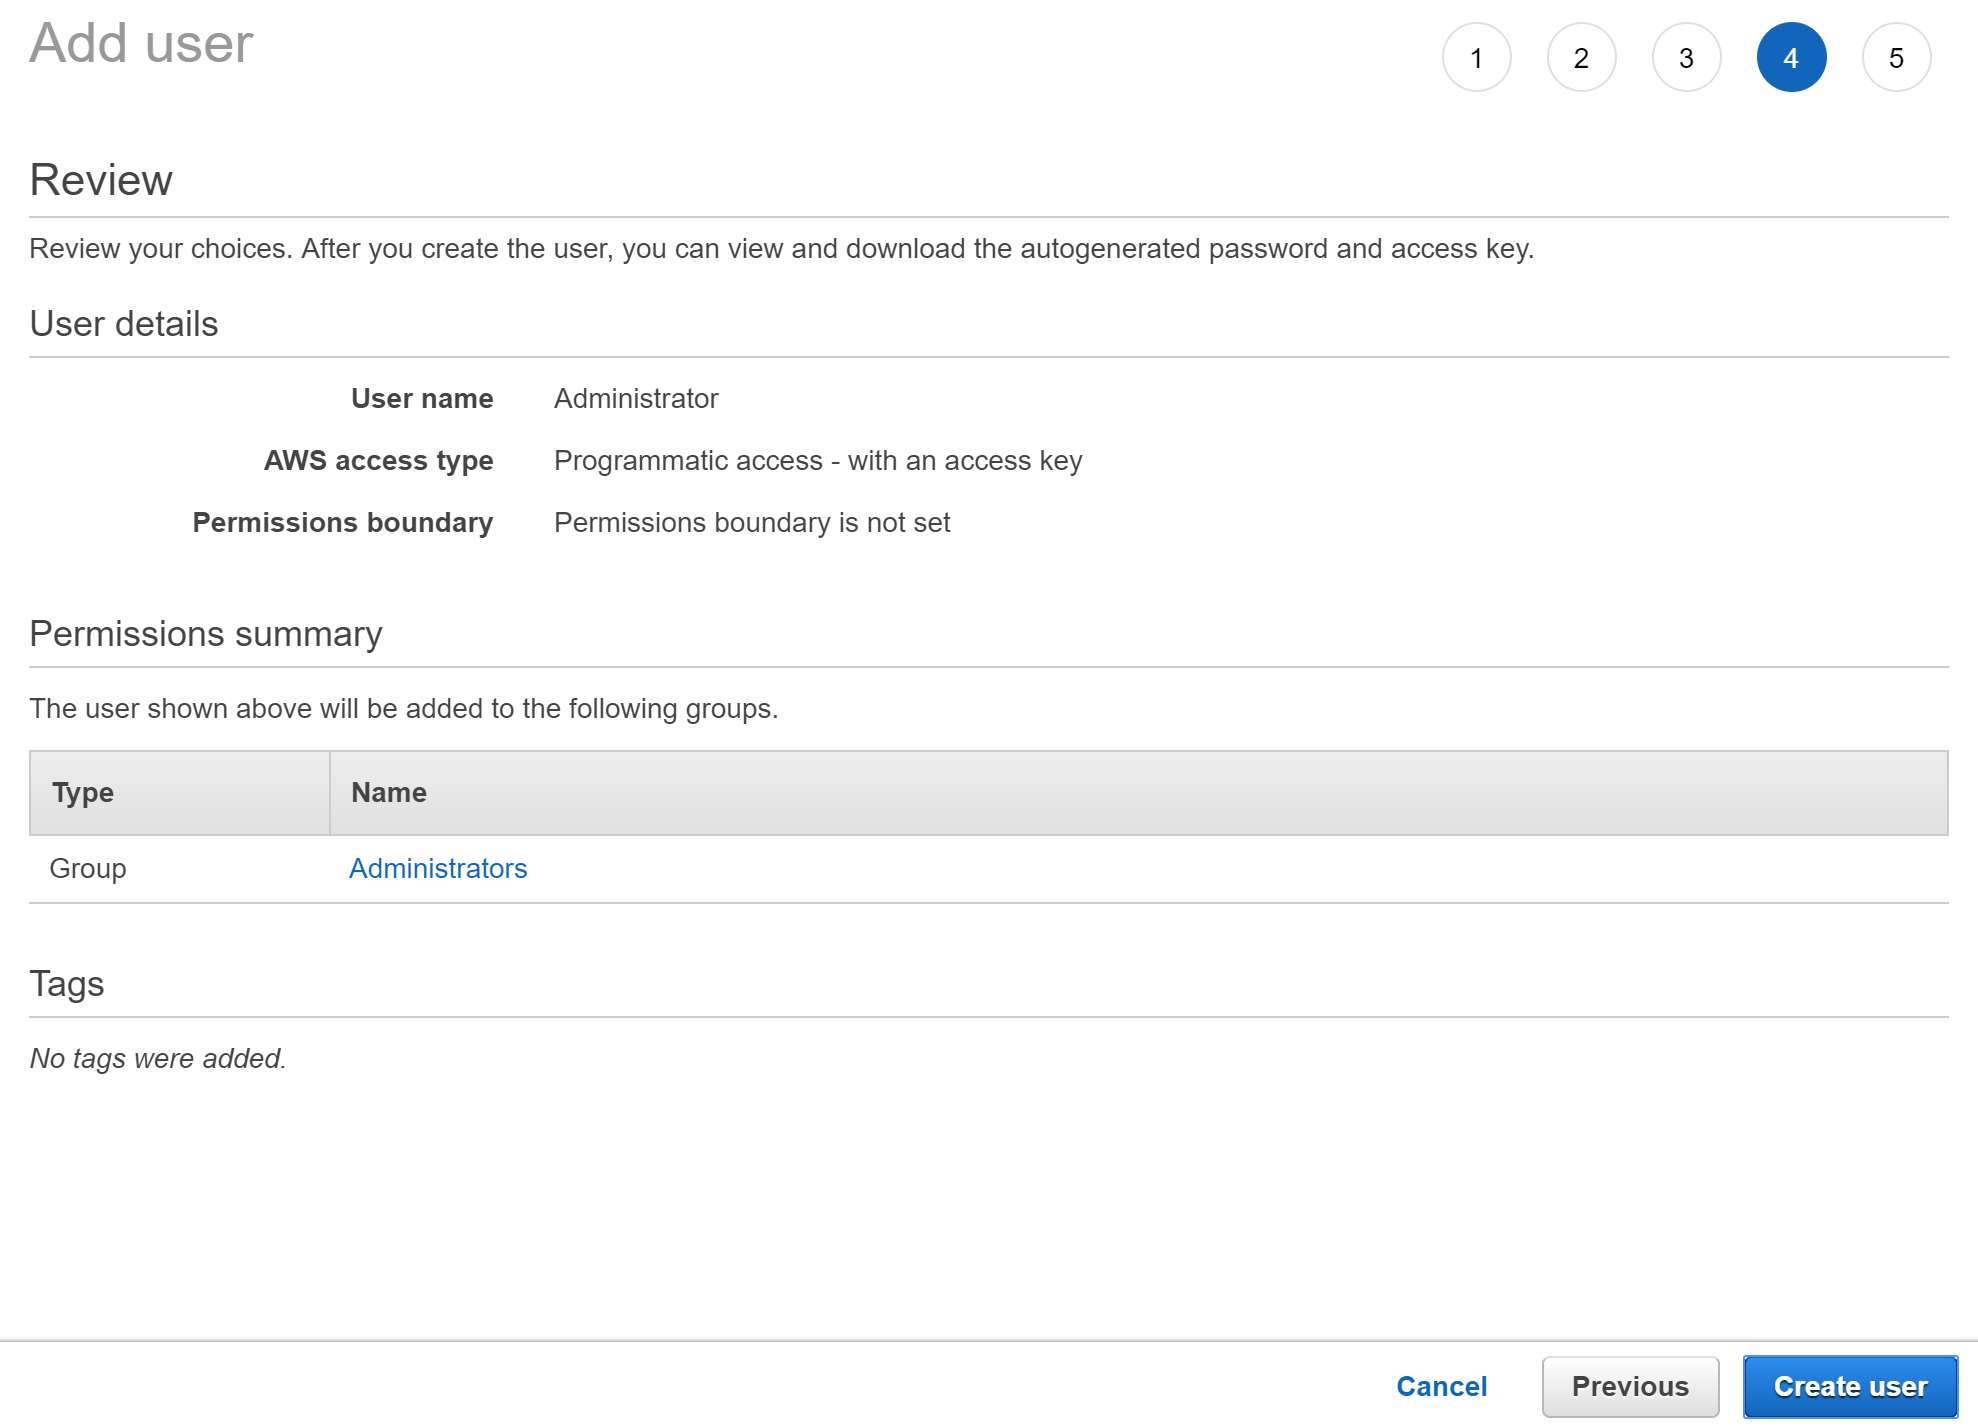
In the navigation pane, choose Users and then choose Add user.
-
For User name, type Administrator.
-
Select the checkbox next to Programmatic access to generate the access key id and secret access key. For the purposes of this tutorial, AWS console access is not required for this user.
-
Choose Next: Permissions.
-
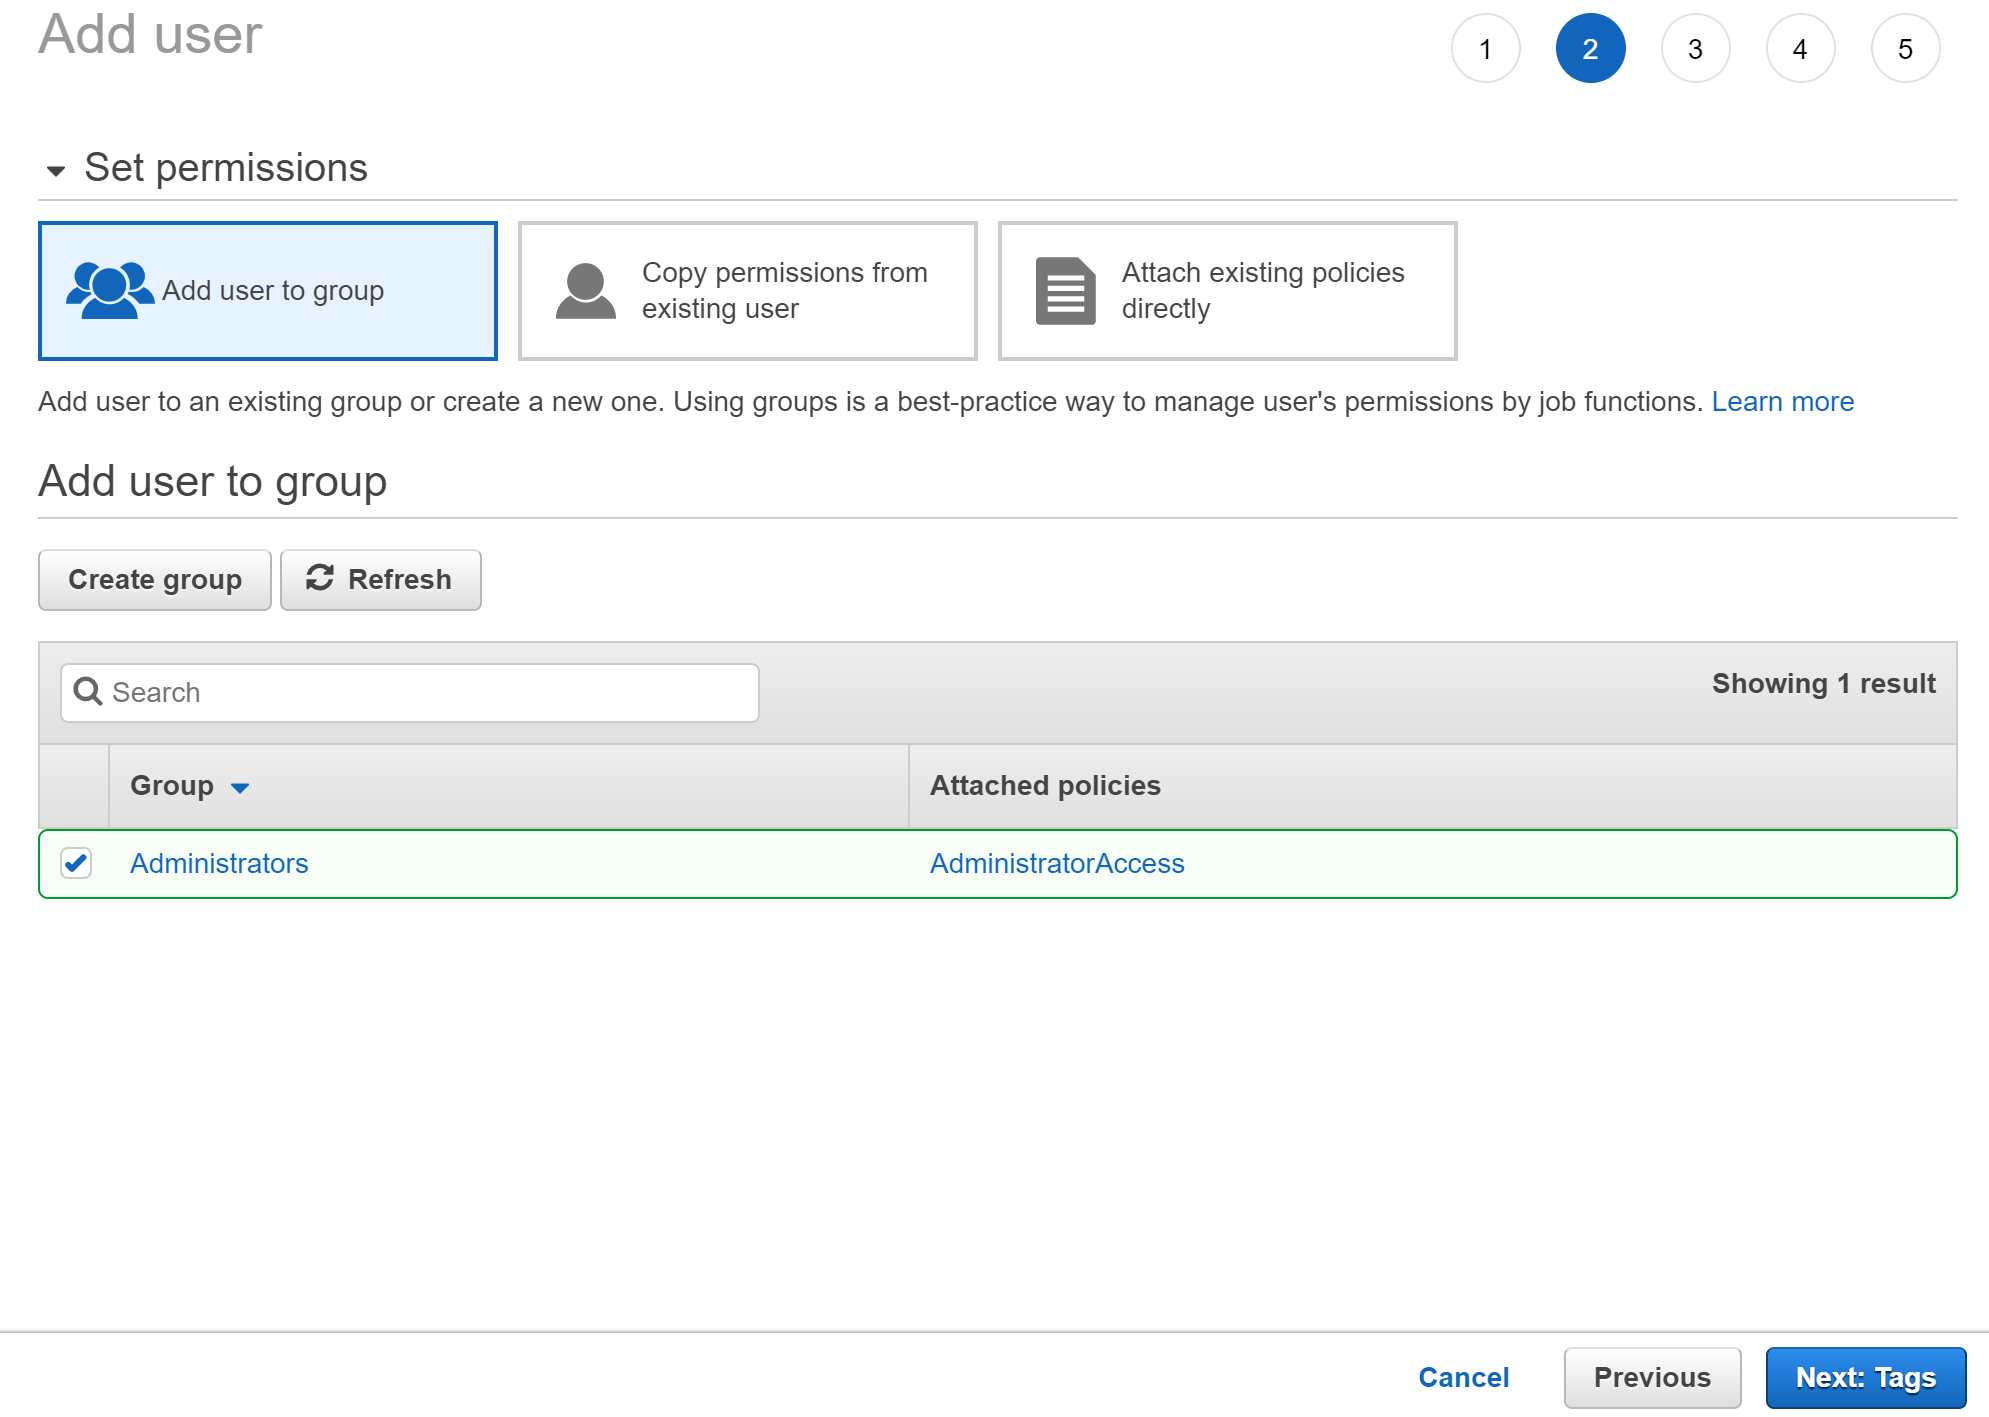
On the Set permissions page, choose Add user to group.
-
Choose Create group.
-
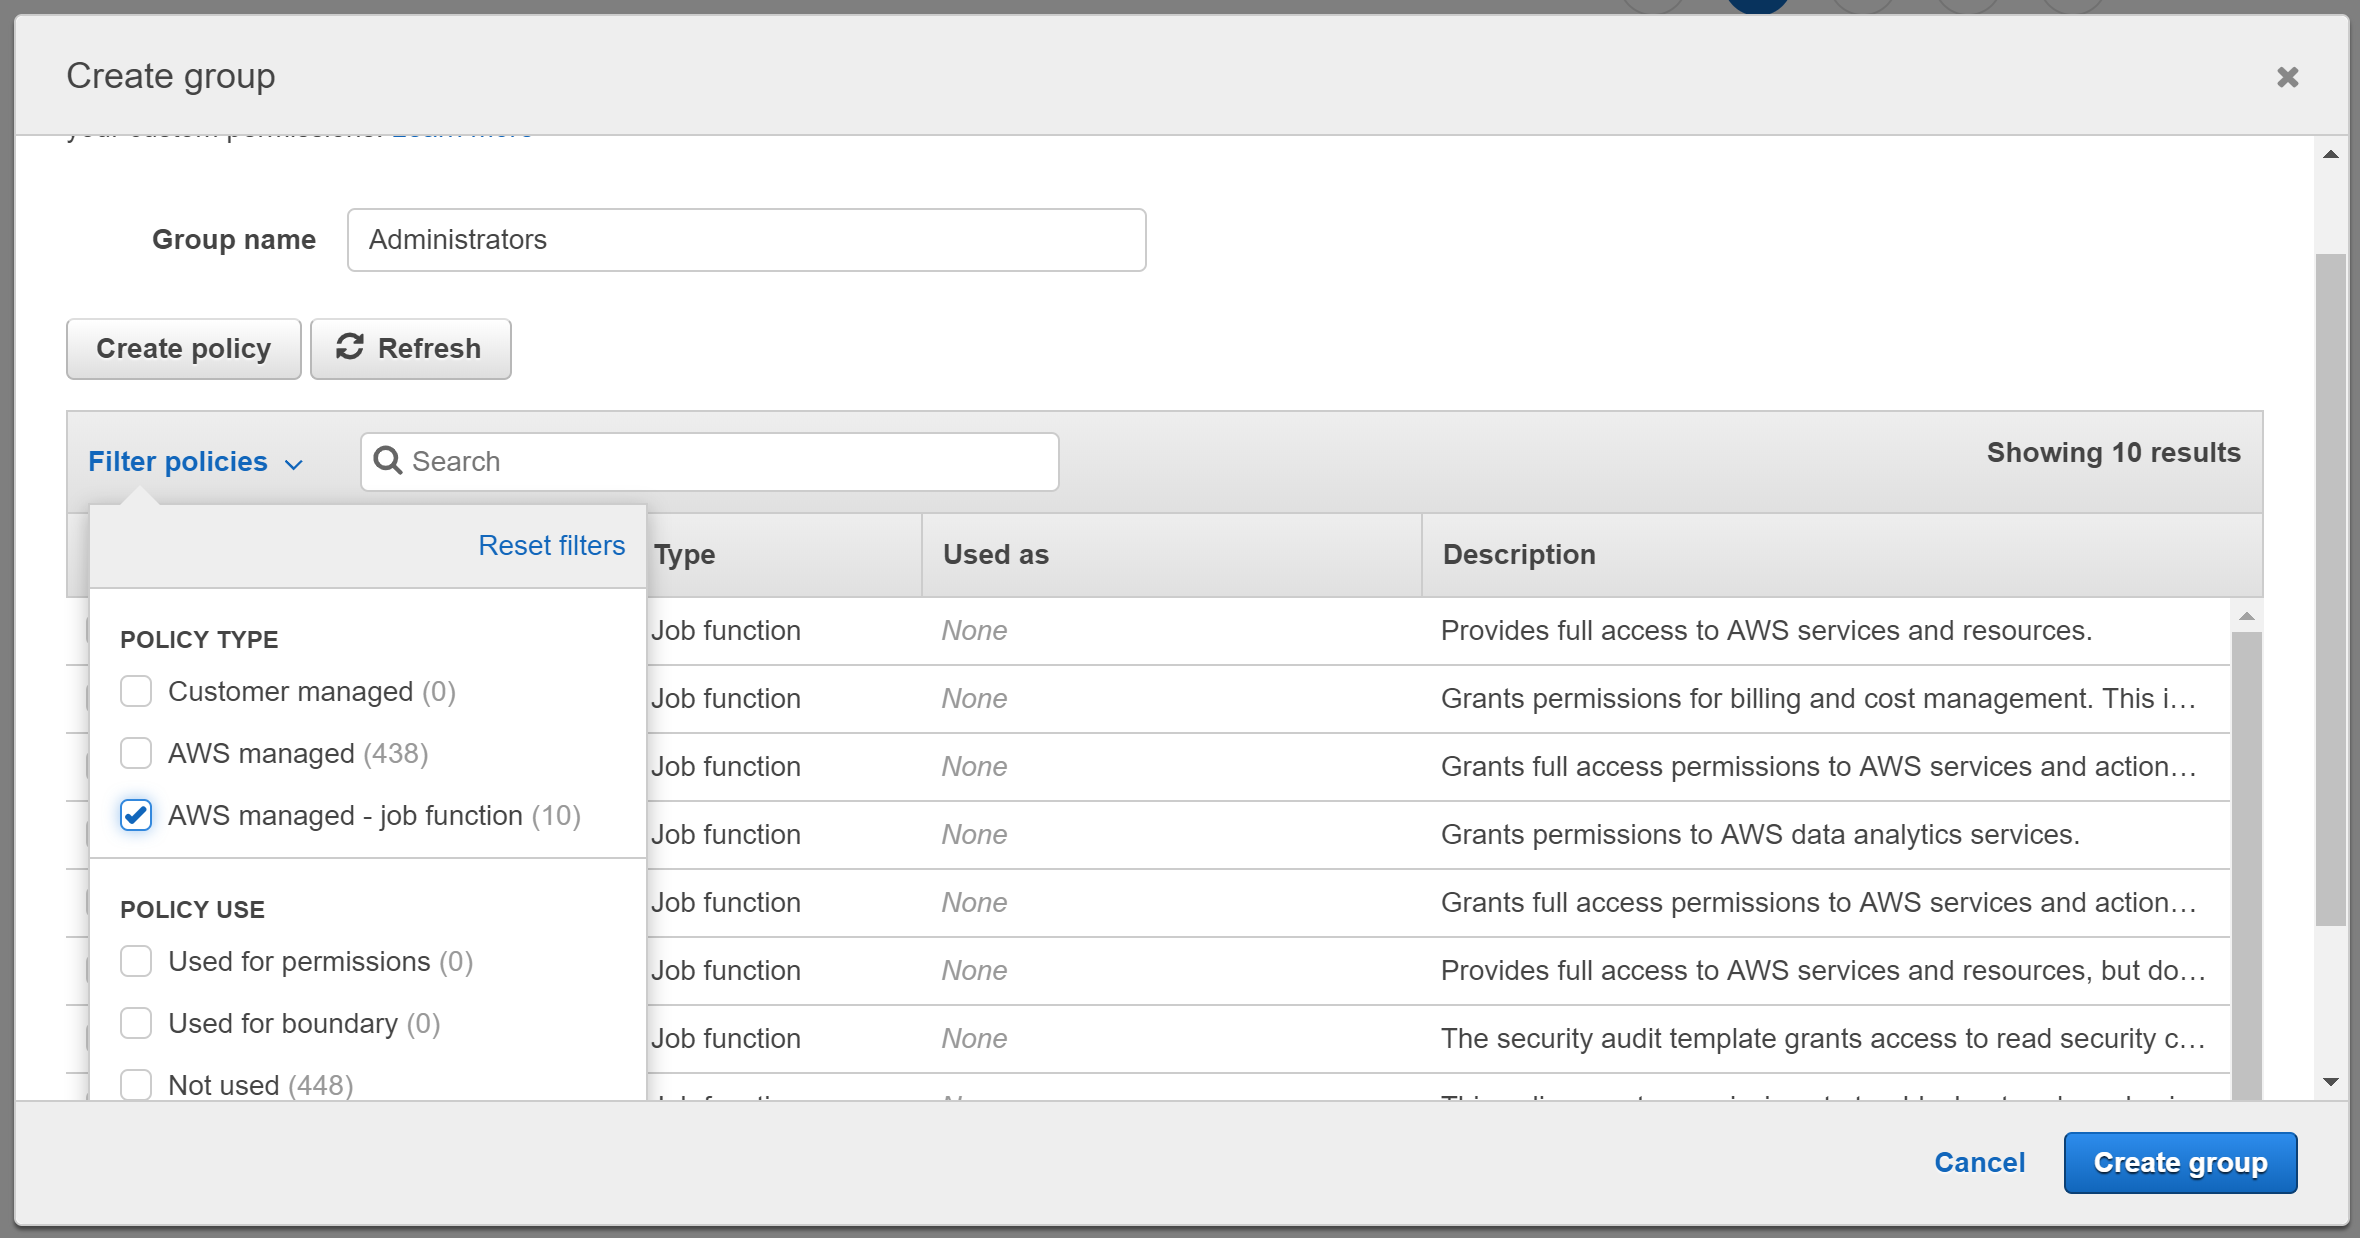
In the Create group dialog box, for Group name type Administrators.
-
Click on the Filter policies drop down and then choose AWS managed - job function to filter the table contents.
-
In the policy list, select the check box for AdministratorAccess. Then choose Create group.
-
Choose Next: Tags.
-
Choose Next: Review to continue to the next page since no tags are required, then Create user.
The final page confirms that a new user has been created and the security credentials are available to download for the Administrator user. Click Download .csv to download the security credentials (credentials.csv). This is the only time that these credentials are available to download so ensure they are saved in a safe location, you will need the security information contained in this file to configure the AWS CLI tool in the next step.
Configure the AWS CLI
Now run aws configure in a command terminal to configure the AWS CLI tool with your AWS security credentials, this will save your details in a default profile file which is used when you run CLI commands to manage your AWS resources:
C:\Users\dan_h>aws configure
AWS Access Key ID [None]: #######KeyID########
AWS Secret Access Key [None]: ##############SecretKey#################
Default region name [None]: eu-west-2
Default output format [None]:
I chose the eu-west-2 London ec2 region but you can select the most appropriate region for yourself from this list. The default json output format is fine so no need to change this.
Now we have created our AWS Administrators group, an Adminstrator user, and configured the AWS CLI tool.
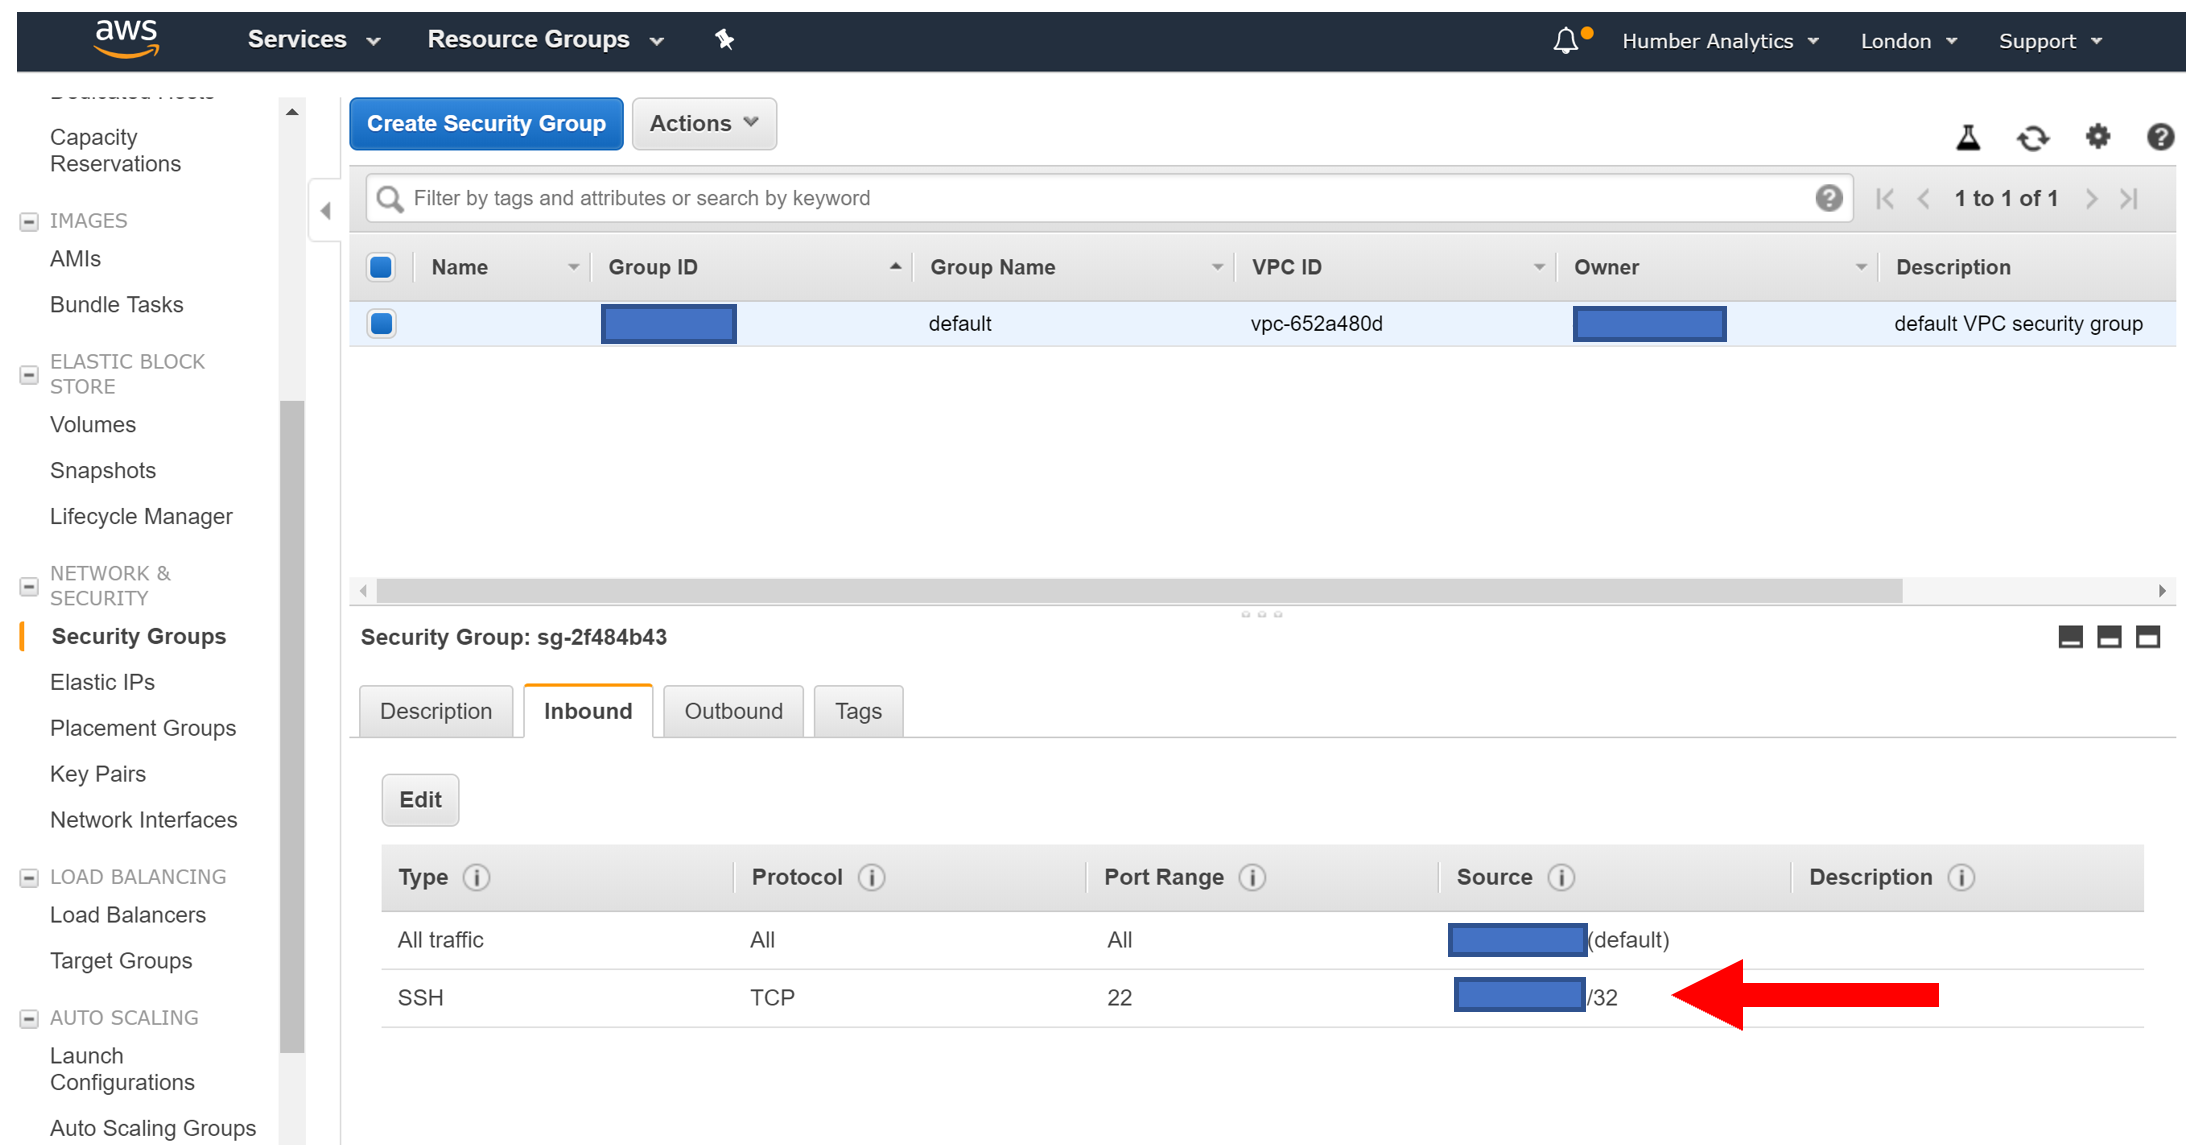
Edit default security group to allow SSH access
We will create our instance later using the default security group and then use SSH to connect to it. By default, the default security group does not allow SSH access so we need to enable that now. This is done via the AWS CLI tool.
First we need to get the security group id for the default security group:
C:\Users\dan_h>aws ec2 describe-security-groups --group-name="default" --query "SecurityGroups[*].[GroupId]"
    [
        [
            "sg-abcd1234"
        ]
    ]
In this example our default security group id is "sg-abcd1234".
Then we need to allow incoming SSH access by adding the following rule:
C:\Users\dan_h>aws ec2 authorize-security-group-ingress --group-id sg-abcd1234 --protocol tcp --port 22 --cidr X.X.X.X/32
This rule allows SSH access from the IP address specified as X.X.X.X only, therefore X.X.X.X needs to be replaced with your own IP address (i.e. the public IP address of the machine you will be accessing AWS resources from).
If you want to, you can confirm this change has been made in the AWS management console under Network and Security, Security Groups:
Generate an SSH key pair and import it into your AWS account
OpenSSH is included in Windows 10. To check to see if you have it installed run ssh in a command window and you should see output similar to this:
C:\Users\dan_h>ssh
usage: ssh [-46AaCfGgKkMNnqsTtVvXxYy] [-b bind_address] [-c cipher_spec]
           [-D [bind_address:]port] [-E log_file] [-e escape_char]
           [-F configfile] [-I pkcs11] [-i identity_file]
           [-J [user@]host[:port]] [-L address] [-l login_name] [-m mac_spec]
           [-O ctl_cmd] [-o option] [-p port] [-Q query_option] [-R address]
           [-S ctl_path] [-W host:port] [-w local_tun[:remote_tun]]
           destination [command]
Now generate a new key pair by running ssh-keygen. Press Enter to accept the default key file location, enter a passphrase if you want to (I didn't), and the command will generate private and public key files in a .ssh folder.
C:\Users\dan_h>ssh-keygen
Generating public/private rsa key pair.
Enter file in which to save the key (C:\Users\dan_h/.ssh/id_rsa):
Created directory 'C:\Users\dan_h/.ssh'.
Enter passphrase (empty for no passphrase):
Enter same passphrase again:
Your identification has been saved in C:\Users\dan_h/.ssh/id_rsa.
Your public key has been saved in C:\Users\dan_h/.ssh/id_rsa.pub.
The key fingerprint is:
SHA256:XXXXXXXXXXXXXXXXXXXXXXXXXXXXXXXXXXXXXXXXXXXXXXXXXXXXXXXXXXXXXXXXX
The key's randomart image is:
+---[RSA 2048]----+
|                 |
|                 |
|                 |
|                 |
|                 |
|                 |
|                 |
|                 |
|                 |
+----[SHA256]-----+
Your fingerprint and randomart will be specific to your generated key pair.
id_rsa is the private key file which stays on the machine from which you will be using to connect to the AWS instance later. id_rsa.pub is the public key file which is transferred to your AWS account.
To transfer your public key file run the following import-key-pair AWS CLI command:
C:\Users\dan_h>aws ec2 import-key-pair --key-name "my-key" --public-key-material file://~/.ssh/id_rsa.pub
{
    "KeyFingerprint": "XX:XX:XX:XX:XX:XX:XX:XX:XX:XX:XX:XX:XX:XX:XX:XX",
    "KeyName": "my-key"
}
You can confirm the key pair has been created by going to the key pair section on your ec2 dashboard:

Conclusion
To recap, this post covers signing up for a new AWS account; installing the AWS CLI; how to use the AWS CLI tool to create a new IAM admin group and user; how to configure the CLI tool with the secret key information; how to configure the default security group to allow inbound SSH connections; and finally the generation of a an SSH key pair and importing it into AWS.
This concludes the first part of the series, the next post will discusses how to start up and connect to an ec2 instance and install the necessary pre-requisite software we need to start building our database of property sale prices.
Comments
comments powered by Disqus